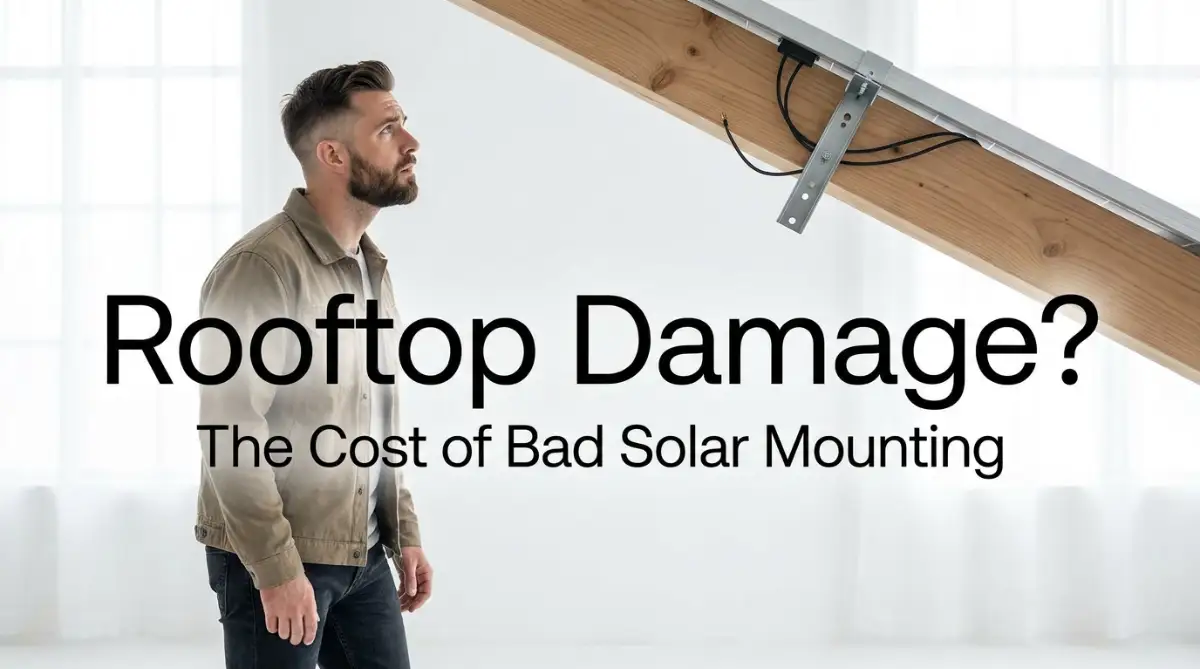
Waking Up to a Sinking Ceiling: The Hidden Cost of Solar Savings
Imagine making the proud decision to switch your home to clean, renewable energy. You spent weeks researching panels, speaking with sales representatives, and waiting for the installation crew to arrive.
The installers spent a single day on your roof, drilling racks into your shingles and securing a beautiful array of glossy dark panels. You looked up at your roof with a deep sense of accomplishment, excited to watch your monthly utility bills drop to zero.
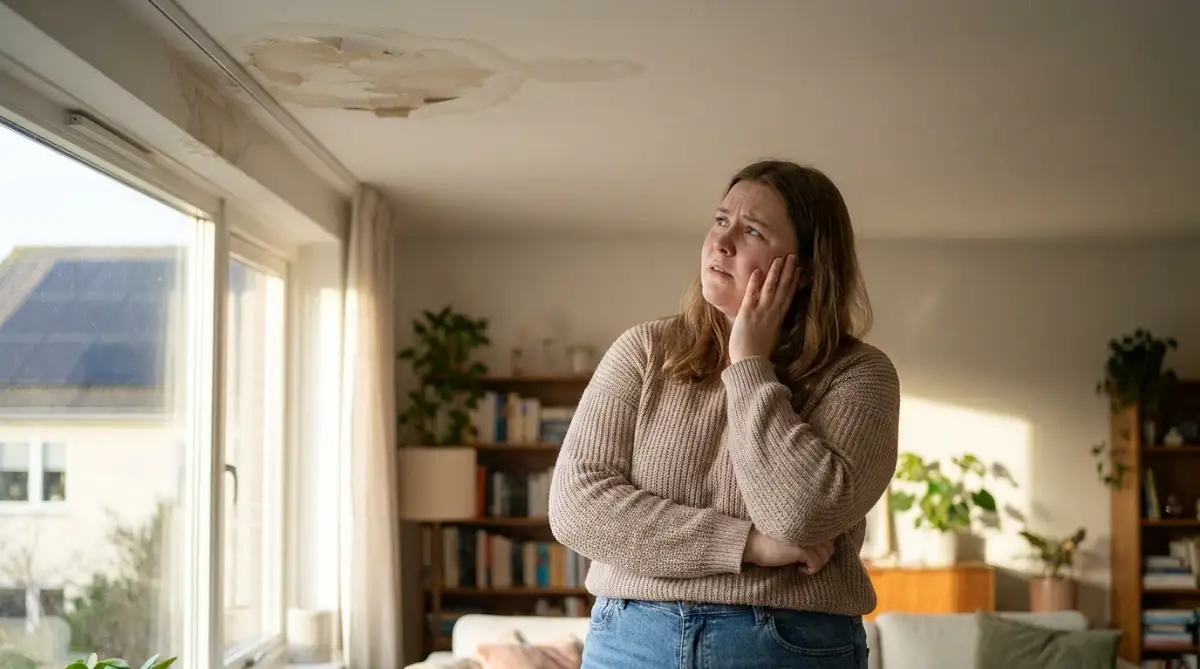
But six months later, you wake up in the middle of a heavy rainstorm to a strange, rhythmic dripping sound inside your bedroom. You turn on the lights and find a small, dark circle of water expanding right above your bed.
Within a few weeks, that small spot turns into a brown, sagging patch, and you notice your bedroom door suddenly refuses to close properly. Your home's internal wooden skeleton is slowly buckling under the weight of an improperly installed solar array.
The psychological toll of watching your biggest financial asset slowly degrade is incredibly stressful. You bought solar to protect your financial future, but now you face thousands of dollars in structural repairs that your standard homeowners insurance might completely reject.
The transition to solar energy should be a joyful, money-saving milestone. However, if the installers cut corners, your roof can quickly turn into a ticking time bomb. Today, I am going to show you the silent, hidden structural damage caused by rushed installations and how you can spot the warning signs before it is too late.
The Heavy Load: Why Solar Panels are Not Just "Set and Forget"
To truly understand this problem, you need to understand the mechanical physics of your roof. Your roof was carefully designed by architects to carry a very specific amount of weight.
This weight calculation is called the "dead load" of the structure. It includes the weight of the rafters, the plywood decking, the shingles, and the ceiling drywall beneath them.
When you install a standard residential solar system, you are adding a massive amount of new weight to this equation. A typical twenty-panel solar array adds roughly 1,000 pounds of constant, unchanging weight to your roof rafters.
This is an entirely new dead load that your roof's wooden bones must carry every single day. If the mounting system is not attached correctly, this weight does not distribute evenly across your structural beams.
Instead, the weight concentrates on a few weak points. Over time, this uneven pressure causes your wooden roof rafters to warp, bow, and eventually split.
The Missed Rafter: The Danger of Blind Drilling
When an installer mounts solar racks to your roof, they must secure them directly into the center of your wooden rafters. The rafters are the thick, strong beams that hold up your roof deck.
The problem is that the installers cannot actually see these rafters through your shingles and plywood decking. They have to use electronic stud finders or tap on the roof with a hammer to guess where the wood is.
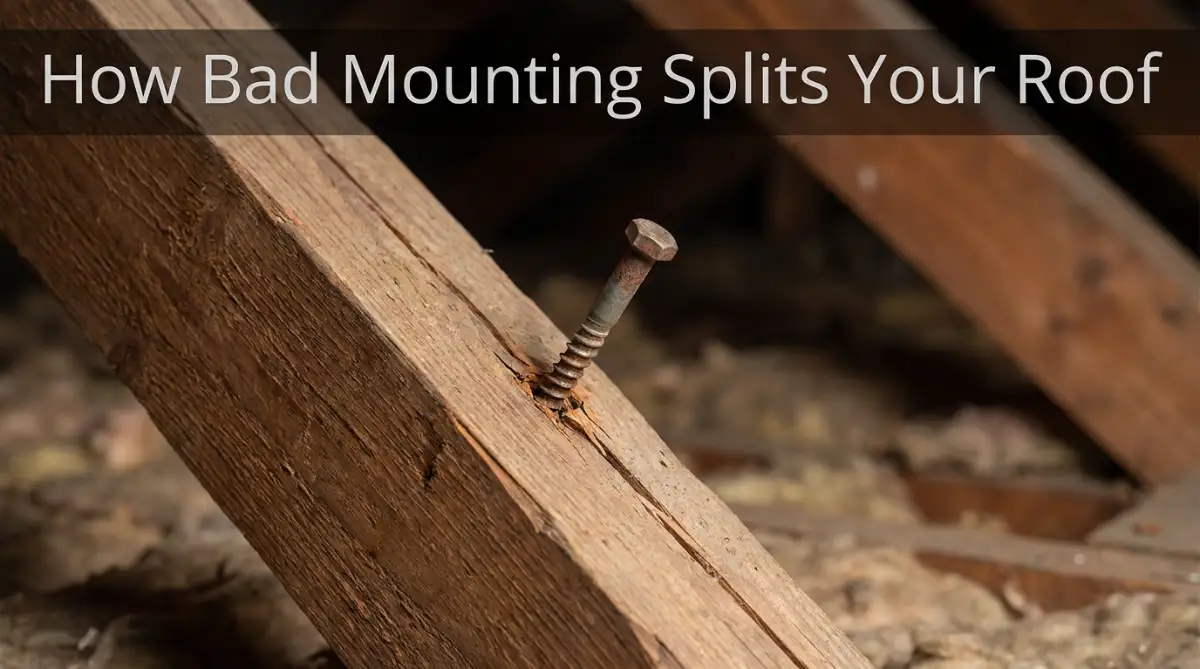
In rushed, low-cost installations, workers frequently miss the center of the rafter. They drill a thick lag bolt right through the shingles, through the plywood, and completely miss the rafter underneath.
When this happens, the heavy solar rack is held up by nothing but a thin sheet of plywood. Plywood is not designed to carry structural loads, and it will eventually sag and crack under the weight.
Even worse, sometimes the bolt scrapes the edge of the rafter instead of hitting the center. This splits the wooden beam, instantly cutting its structural load capacity in half.
The Water Path: How Poor Flashing Destroys Wood
Every single hole drilled into your roof shingles is a potential pathway for water. To prevent leaks, installers must use a metal plate called flashing around every single bolt.
Flashing slides underneath your shingles and directs rainwater away from the drill site. It is an essential barrier against moisture.
However, installing flashing correctly is time-consuming. Rushed installers will often skip the flashing entirely to finish the job faster.
Instead of using metal flashing, they will squirt a cheap blob of silicone caulk around the lag bolt and call it a day. Silicone caulk is a temporary solution that degrades rapidly under the blazing sun.
Within a year, the heat dries out the caulk, causing it to crack and pull away from the metal. Rainwater then seeps down the threads of the bolt, directly into your attic's wooden rafters, causing quiet, unstoppable dry rot.
Myth vs Reality: Do Solar Panels Protect Your Shingles?
Let us address a very common belief that many solar sales representatives share with potential buyers.
The Myth: "Solar panels act as a protective shield for your roof, keeping your shingles safe from weather damage."
The Reality: While the panels do shield your shingles from direct UV sunlight, they also create a dangerous thermal trap. Heat gets trapped in the narrow space between the solar panels and your shingles.
This trapped heat can reach temperatures of over 150 degrees Fahrenheit. If your mounting racks do not provide enough clearance for airflow, this intense heat bake will cause your shingles to curl, dry out, and rot prematurely.
Furthermore, during heavy windstorms, your solar panels act like a giant sail on a boat. The wind gets underneath the panels and tries to rip them off the roof.
This pulling force, known as wind uplift, places a massive upward strain on your roof's structural rafters. If the bolts are only secured to thin plywood instead of the rafters, the wind can physically rip the decking away from your house.
Comparing Professional Mounting vs. Rushed Mounting
To protect your home, you need to understand the physical differences between a highly professional installation and a rushed, low-cost job.
How to Inspect Your Attic for Hidden Solar Damage
You do not have to wait for your bedroom ceiling to cave in to find out if your solar panels were installed incorrectly. The best place to find the truth is inside your attic.
Grab a strong flashlight and carefully climb into your attic space during a heavy rainstorm. Turn off the flashlight for a moment and look up at your roof decking.
If you see any tiny pinpricks of daylight coming through the wood, you have found a major leak site. Turn your flashlight back on and look closely at the wooden rafters directly beneath the solar array.
Look for any dark, wet wood, white mold growth, or split rafter beams. If you see a lag bolt sticking out of the plywood with no wood touching it, the installer missed the rafter entirely.
Detecting these hidden issues early is the key to protecting your home. It requires the exact same vigilance you use when checking a new home purchase for the hidden structural issues to look for during a property inspection. By catching the damage before it rots the wood, you can force the solar company to fix their mistakes at their own expense.
Advanced Strategies to Protect Your Home and Solar Investment
Switching to clean solar energy is a massive milestone for any homeowner. However, to keep your roof safe over the long term, you must look beyond the glossy sales pitches.
Protecting your roof requires making smart, proactive decisions before the installation crew ever arrives. If you treat your roof like a simple flat surface, you are setting yourself up for future structural failure.
Before you sign any solar contract, you must inspect your roof deck. Understanding how to check your wooden beams for rot is very similar to looking for the hidden structural issues to look for during a property inspection before purchasing a new house.
The Power of a Pre-Installation Structural Audit
The biggest mistake most homeowners make is relying on a solar salesperson to evaluate their roof. A salesperson is trained to sell panels, not to understand structural engineering load limits.
Before you allow anyone to drill holes into your shingles, hire an independent, licensed structural engineer to inspect your attic. The engineer will look at the size, age, and spacing of your wooden rafters to see if they can carry a 1,000-pound load.
They will calculate the exact "load-bearing capacity" of your roof frame. This independent evaluation will give you the objective data you need to negotiate with the solar company.
To understand the safety standards of residential solar setups, you can read the official homeowner's guide to going solar provided by the Department of Energy. Taking this essential step ensures your home meets all national safety and engineering guidelines.
Sistering Rafters: Doubling Your Roof's Strength
What happens if the structural engineer finds that your roof rafters are too weak to carry the extra weight? You do not have to abandon your solar dreams.
An experienced carpenter can easily reinforce your roof using a technique called "sistering." Sistering means taking a new, strong piece of lumber and nailing it directly alongside your existing, weak rafter.
This simple process doubles your roof's internal skeleton. By sistering your rafters, you instantly double the load capacity of your roof for a very low cost.
This structural upgrade should always be completed before the solar mounting brackets are attached. It provides a rock-solid foundation that will easily support your panels through heavy winter snows and high winds.
Choosing the Right Mounting System for Your Shingles
Different types of roofs require entirely different mounting hardware. If you have standard asphalt shingles, your installers must use penetrative mounts with high-quality metal flashing.
However, if you have a metal roof, you are in luck. Metal roofs do not require any drilling at all.
Installers can use specialized tension clamps that grip onto the standing seams of your metal roof. This clamp system eliminates the risk of water leaks because it does not require a single hole to be drilled.
Always ask your solar provider exactly what hardware they plan to use on your specific roof type. If they try to use the same generic brackets for every roof, find a different company.
Expert Q&A: Protecting Your Roof's Integrity
Question: Is it normal to hear creaking sounds in the attic after installing solar panels?
Answer: Minor creaking can happen immediately after installation as the wood adjusts to the new weight. However, if the creaking continues for weeks or gets louder during windy days, it means your rafters are shifting under stress. You must have a structural engineer inspect the attic immediately.
Question: How often should I inspect my roof after the solar panels are installed?
Answer: You should personally inspect your attic once every six months, especially after the first heavy rainstorm of the season. Look closely at the wood directly beneath the solar array with a strong flashlight to spot slow leaks early.
Question: Can I use heavy-duty rubber pads instead of metal flashing?
Answer: No. Rubber degrades, cracks, and rots under constant exposure to direct sunlight and extreme temperatures. Metal flashing with rubber-lined lag bolts is the only safe way to prevent water from entering your roof deck.
The Costly Blunders That Can Sink Your Roof
When homeowners are excited to save money on their electric bills, they often rush the installation process. They overlook critical warning signs because they want the system running as fast as possible.
But rushing through a major structural modification on your home is a recipe for disaster. The long-term cost of fixing a damaged roof is infinitely higher than the cost of doing the job right the first time. You must avoid these common traps to protect your family and your wealth.
The Danger of the Lowest Bidder
We all love a good deal, but choosing the cheapest solar installer on the market is incredibly risky. Low-cost companies usually achieve their cheap prices by hiring untrained, temporary workers.
These workers are forced to speed through installations to meet tight daily deadlines. They are much more likely to miss your roof rafters, skip the metal flashing, and use cheap silicone caulk to seal the holes.
A cheap installation will save you a few hundred dollars today but will cost you tens of thousands of dollars in roof repairs tomorrow. Always choose an established, highly reviewed local installer with a certified team of roofing experts.
The "Lipstick on a Broken Roof" Mistake
Another massive mistake is mounting expensive, heavy solar systems onto an old, deteriorating roof. If your asphalt shingle roof is more than fifteen years old, it is already approaching the end of its natural lifespan.
Solar panels are built to last for over twenty-five years. If you put new panels on an old roof, you will eventually have to pay a crew to take the panels down, replace the shingles, and pay them again to reinstall the panels.
This double labor charge can easily add five to ten thousand dollars to your roofing bill. If your roof is old, always replace the shingles before you install the solar panels.
If you ignore this rule and your roof leaks, you will quickly discover what your standard homeowners insurance will not cover. Most insurance companies will completely deny water damage claims if the leak was caused by installing solar panels over old shingles.
The Temporary Patch Fallacy
Many homeowners try to solve minor roof leaks by putting plastic tarps or cheap caulk over the bolts, thinking it is a quick fix. This is identical to throwing a wet smartphone in a bowl of raw rice instead of using a scientific blueprint for safely recovering corrupted data from water-damaged smartphones.
Both actions are temporary tricks that do not solve the real, internal damage happening beneath the surface. Cheap caulk will quickly dry out under the sun, allowing water to silently rot your attic wood out of sight.
If you find a leak, you must have the solar company remove the panel and install a proper, permanent metal flashing system. Do not accept temporary patches that only hide the damage until your warranty expires.
Do's and Don'ts for a Safe Solar Installation
- Do: Demand that the solar company provides a written warranty that specifically covers roof leaks caused by their installation.
- Don't: Allow the crew to begin drilling until they have physically verified the location of your rafters from inside the attic.
- Do: Keep a record of all engineering reports, permits, and photographs of the installation process.
- Don't: Let a solar company convince you that your roof does not need an independent structural evaluation.
Your Action Plan for a Safe and Productive Solar Roof
Transitioning to solar energy is one of the smartest financial decisions you can make, but only if you protect the structure of your home first. You do not have to accept the risk of a sagging roof or a rotted ceiling.
By taking charge of the installation process, you can enjoy decades of clean, free electricity without any structural anxiety. You hold the power to protect your home starting right now.
I want you to take three specific actions this week before you finalize any solar plans. First, go up into your attic with a strong flashlight and inspect your rafters for any existing mold or splits.
Second, if you are currently speaking with a solar company, demand to see their official credentials and ask if they use certified structural engineers for their roof audits. Third, make sure your contract clearly states that they will use heavy-duty metal flashing and proper spacing for heat ventilation.
Your home is your most valuable asset, and your roof is its primary shield. Take control of your solar project today, protect your structural rafters, and build the clean, stress-free future you actually deserve.
Structural & Financial Disclaimer: The information provided in this article is for educational and informational purposes only and does not constitute professional engineering, architectural, roofing, or financial advice. Building codes, roof loading standards, and wind-zone regulations vary significantly based on your local municipality and region. Always consult with a licensed structural engineer and a certified roofing contractor before making any structural modifications to your home. We are not liable for any property damage, roof leaks, or financial losses resulting from DIY projects or hiring uncertified solar installers.